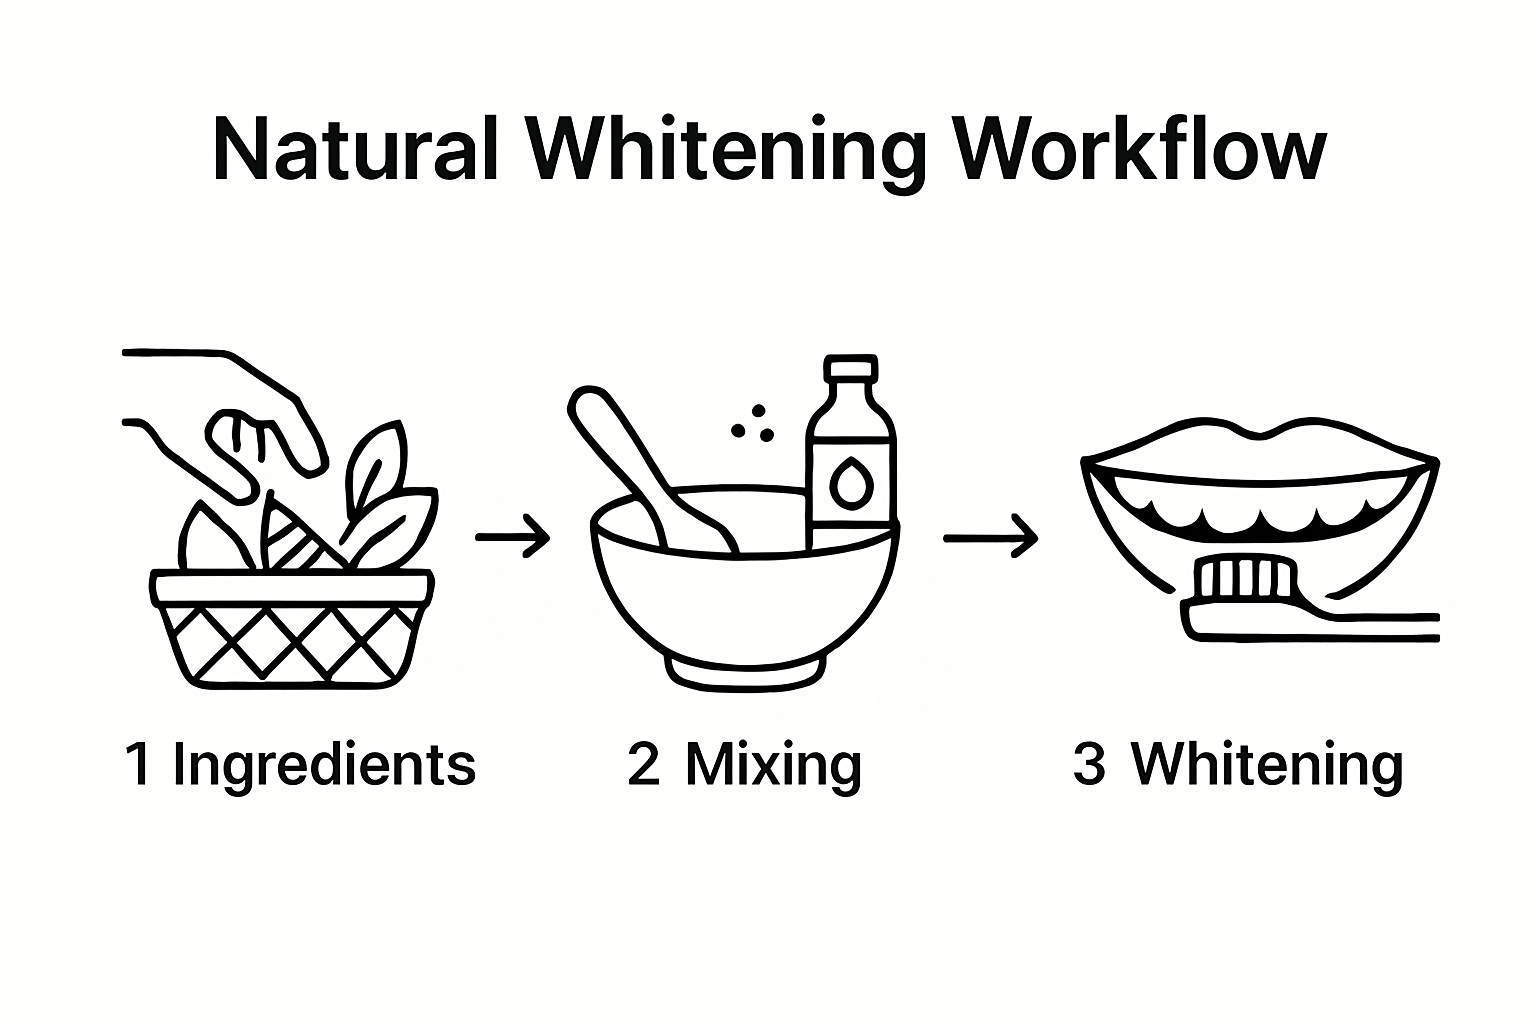
Everyone wants a brighter smile and the thought of achieving it naturally is pretty appealing. Most people do not realise that simple ingredients sitting in your kitchen can tackle tough teeth stains without harsh chemicals. But even with these natural powerhouses, the real secret lies in how you use them, not just what you use. This step-by-step guide uncovers techniques that dentists swear by, letting you safely track your progress and boost your results every time.
Table of Contents
- Step 1: Assess Your Current Tooth Shade
- Step 2: Gather Natural Whitening Ingredients
- Step 3: Prepare Your Whitening Solution
- Step 4: Apply The Whitening Solution
- Step 5: Rinse And Evaluate Results
Quick Summary
| Key Point | Explanation |
|---|---|
| 1. Assess your current tooth shade | Understanding your natural tooth colour helps set realistic whitening goals and track progress over time. |
| 2. Gather effective natural ingredients | Use accessible items like baking soda and coconut oil to create safe, homemade whitening solutions for your teeth. |
| 3. Prepare solutions with care | Ensuring precise measurements and avoiding contamination enhances the effectiveness and safety of your natural whitening mixtures. |
| 4. Apply solutions precisely | Gentle application techniques prevent irritation and ensure even coverage, maximizing the whitening effect on your teeth. |
| 5. Rinse and evaluate your results | Thorough rinsing followed by careful assessment allows you to gauge treatment effectiveness and maintain overall dental health. |
Step 1: Assess Your Current Tooth Shade
Before embarking on your teeth whitening journey, understanding your current tooth shade is crucial for setting realistic expectations and tracking progress. Your natural tooth colour serves as a baseline measurement that helps determine the most appropriate whitening approach.
To begin assessing your tooth shade, you’ll need a few simple tools: good lighting, a clean white background, and a reliable mirror. Natural daylight provides the most accurate colour representation, so position yourself near a window with bright, indirect sunlight. Avoid harsh overhead lights that can distort colour perception.
Discover professional tooth shade evaluation techniques that dental professionals use to assess tooth colour systematically. Start by thoroughly cleaning your teeth to remove any surface stains or plaque that might temporarily alter their appearance. Brush gently but thoroughly, and avoid consuming any coloured foods or drinks for at least an hour before your assessment.
When evaluating your tooth shade, look for subtle variations across different teeth. Some people have naturally different shades in their front and back teeth. Pay particular attention to:
- Tooth colour around the gum line
- Variations between upper and lower teeth
- Existing dental work like fillings or crowns
Photographing your teeth can provide an objective reference point. Use your smartphone’s front-facing camera in good lighting, ensuring the image captures your full smile. This visual record will help you track your whitening progress and compare results over time.
Consider natural tooth shade variations based on age and lifestyle. Younger individuals typically have brighter, more uniform tooth colours, while older adults might experience more significant discolouration due to years of consuming staining substances like coffee, tea, or red wine.
If you’re uncertain about your precise tooth shade, consulting a dental professional can provide a detailed, professional assessment. They can use standardised shade guides to categorise your current tooth colour and recommend the most effective whitening strategy tailored to your specific dental characteristics.
Successful tooth shade assessment requires patience and careful observation. By taking the time to understand your starting point, you’ll be better equipped to choose the most suitable natural whitening methods and track your progress effectively.
This table gives you a quick overview of each main step in the natural teeth whitening process, including estimated effort and what you can expect as an outcome for each stage.
| Step | Effort Level (1-3) | Estimated Time | Expected Outcome |
|---|---|---|---|
| Assess current tooth shade | 1 | 5 min | Baseline for tracking progress |
| Gather natural ingredients | 1 | 5-10 min | Ready all required whitening materials |
| Prepare whitening solution | 2 | 5 min | Safe, effective mixture made fresh |
| Apply whitening solution | 2 | 5-20 min | Whitening agent applied evenly |
| Rinse and evaluate results | 1 | 5 min | Assess improvements and oral health |
Step 2: Gather Natural Whitening Ingredients
Natural teeth whitening ingredients offer a gentle, cost-effective alternative to commercial products, allowing you to brighten your smile using household items. Your kitchen and pantry are potential treasure troves of teeth whitening solutions that can help remove surface stains and promote oral health without harsh chemicals.
Explore safe dental whitening techniques that leverage natural ingredients. The most effective natural whitening ingredients typically include household staples known for their mild abrasive or acidic properties. Baking soda stands out as a premier ingredient, functioning as a gentle polishing agent that helps neutralise acids and remove surface stains without damaging tooth enamel.
When gathering your natural whitening ingredients, prioritise fresh, high-quality items. Coconut oil, another powerful natural ingredient, offers antimicrobial properties that can help remove bacteria and plaque while potentially whitening teeth through a process called oil pulling. Hydrogen peroxide in food-grade concentrations provides a safe bleaching agent when used appropriately, though it’s crucial to dilute it correctly to prevent tooth sensitivity.
Key natural whitening ingredients to collect include:
- Organic baking soda
- Food-grade hydrogen peroxide
- Organic coconut oil
- Fresh lemons or oranges
- Activated charcoal powder
- Apple cider vinegar
Purchase ingredients from reputable sources, preferably organic and unprocessed varieties. For hydrogen peroxide, select a food-grade 3% solution available at pharmacies or health stores. When choosing coconut oil, opt for unrefined, cold-pressed varieties that retain maximum natural properties.
Consider potential allergies or sensitivities before using any natural ingredient. Individuals with sensitive teeth or existing dental conditions should consult their dentist before starting any home whitening regimen. Some ingredients like lemon juice, while effective, can be highly acidic and might erode tooth enamel if used excessively.
Preparation is key to successful natural teeth whitening. Store your ingredients in clean, sealed containers away from direct sunlight and moisture. Organic ingredients tend to have shorter shelf lives, so purchase quantities you’ll use within a few weeks.
By carefully selecting and preparing your natural whitening ingredients, you’re setting the stage for a safe, effective teeth whitening process that harnesses the power of nature’s own dental care solutions.
Here is a table comparing the most common natural whitening ingredients, detailing their purposes and important precautions to help you choose the appropriate option for your needs.
| Ingredient | Purpose/Effect | Key Precautions |
|---|---|---|
| Baking soda | Gentle abrasive for stain removal | Avoid overuse, may cause sensitivity |
| Hydrogen peroxide (3%) | Mild bleaching agent | Must be diluted to prevent irritation |
| Coconut oil | Reduces bacteria, oil pulling | No known major risks if unallergic |
| Lemon/orange juice | Acidic stain removal | Dilute heavily, may erode enamel |
| Activated charcoal | Absorbs surface stains | Use sparingly, can be abrasive |
| Apple cider vinegar | Mild bleaching, disinfectant | Highly dilute, risk of enamel erosion |
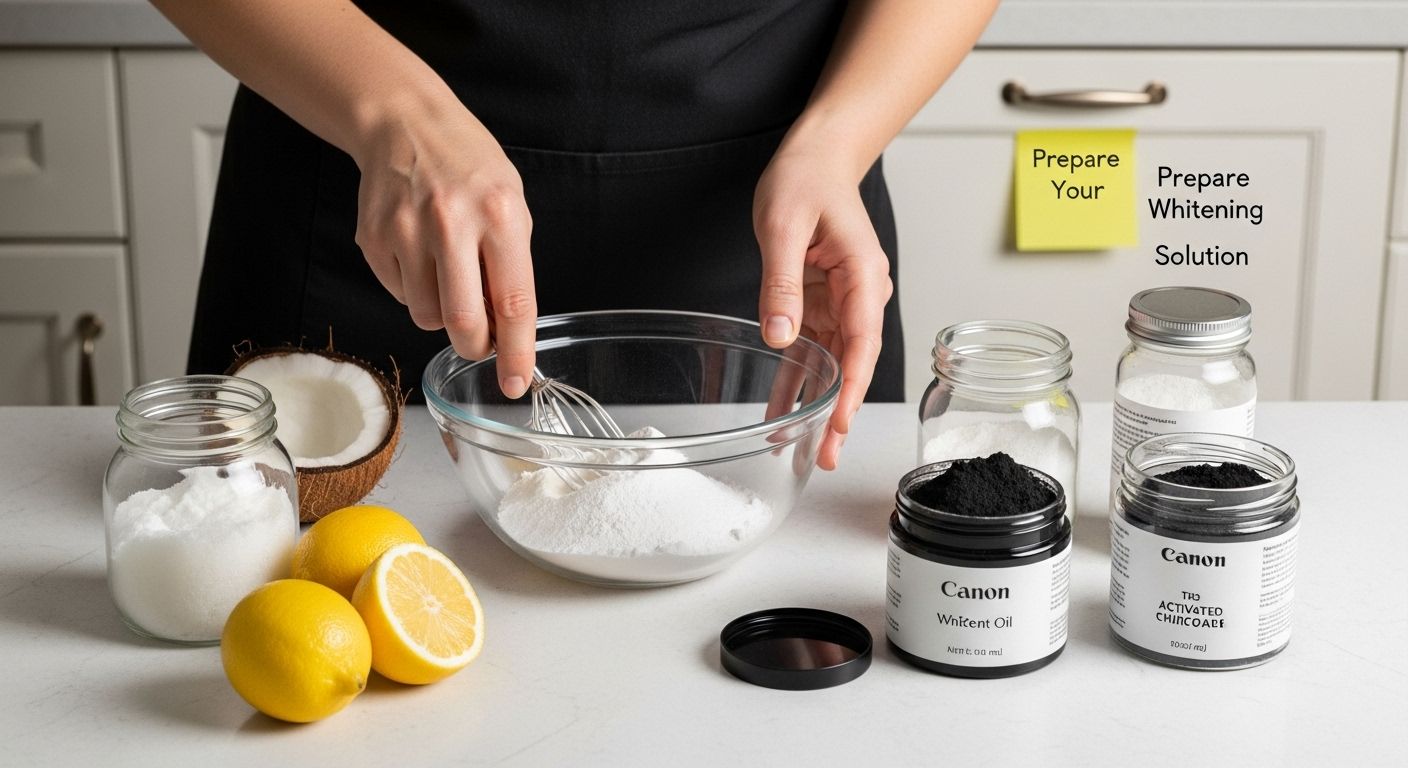
Step 3: Prepare Your Whitening Solution
Preparing your natural teeth whitening solution requires precision, care, and understanding of ingredient interactions. Proper preparation is crucial to ensuring both effectiveness and safety for your dental whitening journey.
Learn about safe dental treatments before mixing any homemade solutions. Begin by thoroughly washing your hands and sterilising all mixing tools to prevent bacterial contamination. Glass or ceramic bowls work best for mixing, as they won’t react chemically with your ingredients unlike some metal containers.
For a basic baking soda whitening paste, combine one teaspoon of organic baking soda with just enough hydrogen peroxide to create a smooth, spreadable consistency. The mixture should resemble a thick, creamy paste without being too runny. Stir gently using a clean ceramic or wooden spoon, ensuring all ingredients are well incorporated.
When working with acidic ingredients like lemon juice or apple cider vinegar, dilution is key. Too concentrated a solution can erode tooth enamel and cause sensitivity. A safe ratio typically involves mixing one part acidic liquid with two parts water. Always use room temperature filtered water to prevent potential bacterial growth.
Essential preparation steps include:
- Measuring ingredients precisely
- Using clean, sterilised mixing tools
- Creating smooth, consistent mixtures
- Checking ingredient temperatures
- Avoiding contamination
Coconut oil pulling solutions require slightly different preparation techniques. Select unrefined, organic coconut oil and gently warm it to its liquid state. The oil should be comfortably warm, not hot, to prevent potential burns or discomfort during the whitening process.
For activated charcoal solutions, purchase food-grade powder and mix with just enough water to create a smooth, paintable consistency. The mixture should be thick enough to adhere to teeth but not so dense that it becomes difficult to apply evenly.
Always perform a small patch test before full application. Apply a tiny amount of your prepared solution to a small area and wait 15 minutes to check for any adverse reactions. If you experience tingling, burning, or increased sensitivity, discontinue use immediately and consult a dental professional.
Proper storage of your prepared whitening solution is equally important. Most natural mixtures have a short shelf life and should be prepared fresh for each use.
Store any unused portions in a clean, airtight container in a cool, dark place, and discard after 24 hours to prevent bacterial growth.
By meticulously preparing your natural whitening solution, you’re setting the stage for a safe, effective teeth brightening experience that harnesses the power of natural ingredients.
Step 4: Apply the Whitening Solution
Precise application is the cornerstone of effective natural teeth whitening, transforming your carefully prepared ingredients into a targeted dental treatment. The way you apply your whitening solution can significantly impact both its effectiveness and potential side effects.
Discover professional dental application techniques that can help you achieve optimal results. Begin by ensuring your teeth are completely clean and dry. Use a soft-bristled toothbrush to gently remove any residual plaque or food particles, creating a clean surface for your whitening solution.
For baking soda and hydrogen peroxide mixtures, use a clean, soft-bristled toothbrush or a clean finger to apply the paste. Spread the mixture evenly across your teeth, focusing on visible stains and discoloured areas. Avoid aggressive scrubbing, which can damage tooth enamel. Instead, use gentle, circular motions to distribute the solution uniformly.
When working with coconut oil pulling techniques, the application process differs slightly. Take a tablespoon of liquefied coconut oil and swish it thoroughly around your mouth for 15-20 minutes. The key is consistent, gentle swirling that allows the oil to interact with tooth surfaces without causing jaw fatigue.
Critical application guidelines include:
- Apply solutions evenly across all tooth surfaces
- Use gentle, non-abrasive techniques
- Avoid contact with gums to prevent irritation
- Maintain consistent application time
- Rinse thoroughly after treatment
For activated charcoal treatments, use a separate clean toothbrush dedicated to this purpose. Gently brush the charcoal mixture onto teeth, allowing it to sit for no more than two to three minutes. Charcoal can be more abrasive, so minimal contact time is crucial to prevent potential enamel damage.
Acidic solutions like lemon juice or apple cider vinegar require extreme caution. Dilute these ingredients significantly and limit application time to 60 seconds maximum. Use a cotton swab for precise application, targeting specific stained areas rather than coating entire tooth surfaces.
After applying any whitening solution, rinse your mouth thoroughly with lukewarm water. Follow up with a fluoride mouthwash to help protect tooth enamel and neutralise any remaining acidic compounds. Pay attention to how your teeth and gums respond during and after the treatment.
If you experience increased sensitivity, pain, or unusual reactions, discontinue the treatment immediately. Not all natural whitening methods work identically for everyone, and individual dental conditions vary significantly. Always listen to your body and be prepared to adjust your approach accordingly.
Step 5: Rinse and Evaluate Results
The final stage of your natural teeth whitening journey involves careful rinsing and critical result evaluation, transforming your treatment from application to assessment. Proper rinsing is not merely about removing the whitening solution but about protecting your dental health and understanding the treatment’s effectiveness.
Explore professional dental assessment techniques to complement your home whitening process. Begin by thoroughly rinsing your mouth with lukewarm water, using gentle swishing motions to remove all traces of the whitening solution. Aim for at least 30 seconds of continuous rinsing, ensuring no residual ingredients remain on your teeth or gums.
After rinsing, use a fluoride mouthwash to help neutralise any remaining acidic compounds and provide an additional protective layer for your tooth enamel. This step is crucial in preventing potential sensitivity and maintaining overall oral health. Take care to swish the mouthwash thoroughly but gently, covering all areas of your mouth.
Immediate result evaluation requires good lighting and a clean mirror. Natural daylight provides the most accurate colour representation, so position yourself near a window or in a well-lit area. Compare your teeth’s current shade to your initial baseline measurement, looking for subtle changes in tooth colour and brightness.
Key evaluation criteria include:
- Overall tooth brightness
- Reduction of visible stains
- Consistency of colour across teeth
- Absence of increased sensitivity
- Gum and tooth health
Document your results by taking close-up photographs of your teeth under consistent lighting conditions. These images will serve as a valuable reference point for tracking your whitening progress over time. Use the same angle and lighting for each photo to ensure accurate comparison.
Pay close attention to how your teeth and gums feel after the treatment. Some mild sensitivity is normal, but persistent pain, unusual discolouration, or significant discomfort warrants immediate consultation with a dental professional. Natural whitening methods can affect individuals differently, and your oral health should always take precedence.
Consider creating a simple tracking log to record each whitening session’s details. Note the ingredients used, application time, any sensations experienced, and observed results. This systematic approach will help you refine your technique and understand what works best for your unique dental characteristics.
Remember that natural teeth whitening is a gradual process. Visible results may take multiple treatments, and patience is key. Consistent, gentle application and careful evaluation will ultimately guide you towards achieving your desired smile transformation.
Ready to Take Your Teeth Whitening Further? Discover Lasting Dental Solutions at Paynless Dental
Trying to achieve a brighter smile using natural methods can feel rewarding, but many Australians struggle with uneven results, recurring stains, or stubborn discolouration that do not respond to home remedies. If you are noticing persistent sensitivity or see little change after following steps like tooth shade assessment and careful application of natural solutions, it might be time to explore safer, longer-lasting options. When you want real improvement beyond what lemons, baking soda, or coconut oil can provide, professional care and modern technology make all the difference.
Don’t settle for uncertainty or risk damaging your enamel with guesswork. Book a personalised assessment at one of our convenient clinics and unlock a whiter, healthier smile with support from trusted experts. Toongabbie and North Ryde locations are ready to help you with advanced approaches that are tailored to your unique needs. Learn more about premium dental care and explore options like crowns and bridges that can instantly transform your smile. If you want comprehensive long-term results, see how dental implants can restore not only the colour but also your confidence. Visit https://paynlessdental.com.au and make your next step towards a truly effective, comfortable smile upgrade—book today for a memorable change you can see and feel.
Frequently Asked Questions
How can I assess my current tooth shade before whitening?
To assess your current tooth shade, use good lighting and a clean white background to observe your teeth. Natural daylight is best for accurate colour representation. Look for variations between teeth and consider taking photographs to track progress.
What natural ingredients can I use for teeth whitening at home?
You can use several natural ingredients for teeth whitening, including baking soda, hydrogen peroxide, coconut oil, lemon juice, activated charcoal powder, and apple cider vinegar. Each has specific properties that can help remove surface stains and whiten teeth safely.
How should I prepare a natural whitening solution?
To prepare a basic whitening solution, combine one teaspoon of baking soda with enough hydrogen peroxide to create a smooth paste. Ensure cleanliness by sterilising all tools used for mixing and verify the proper consistency before application.
What should I do if I experience sensitivity after using a whitening solution?
If you experience sensitivity after using a whitening solution, discontinue use immediately. Mild sensitivity can be normal, but persistent discomfort requires attention. You may consult your dentist for personalised advice on safe whitening options.